Prefer a video tutorial?
Prefer a video tutorial?
- English
- Español


Step 1: Install the Zeno Bank Plugin
- Log in to your WordPress admin dashboard.
- Go to Plugins → Add New.
- Search for “Zeno Crypto Payment Gateway”.
- Click Install Now, then click Activate.
Zeno Crypto Payment Gateway
View plugin on WordPress.org
Step 2: Enable Automatic Updates (Optional)
- Click Enable auto-updates so you always have the latest version.

Step 3: Get Your API Key
- Visit the ZenoBank Dashboard: https://dashboard.zenobank.io
- Navigate to Developers.
- Copy the generated API Key.
Step 4: Open Plugin Settings
- In your WordPress admin dashboard, go to Plugins → Installed Plugins.
- Find Zeno Crypto Payment Gateway.
- Click Settings to open the plugin settings.

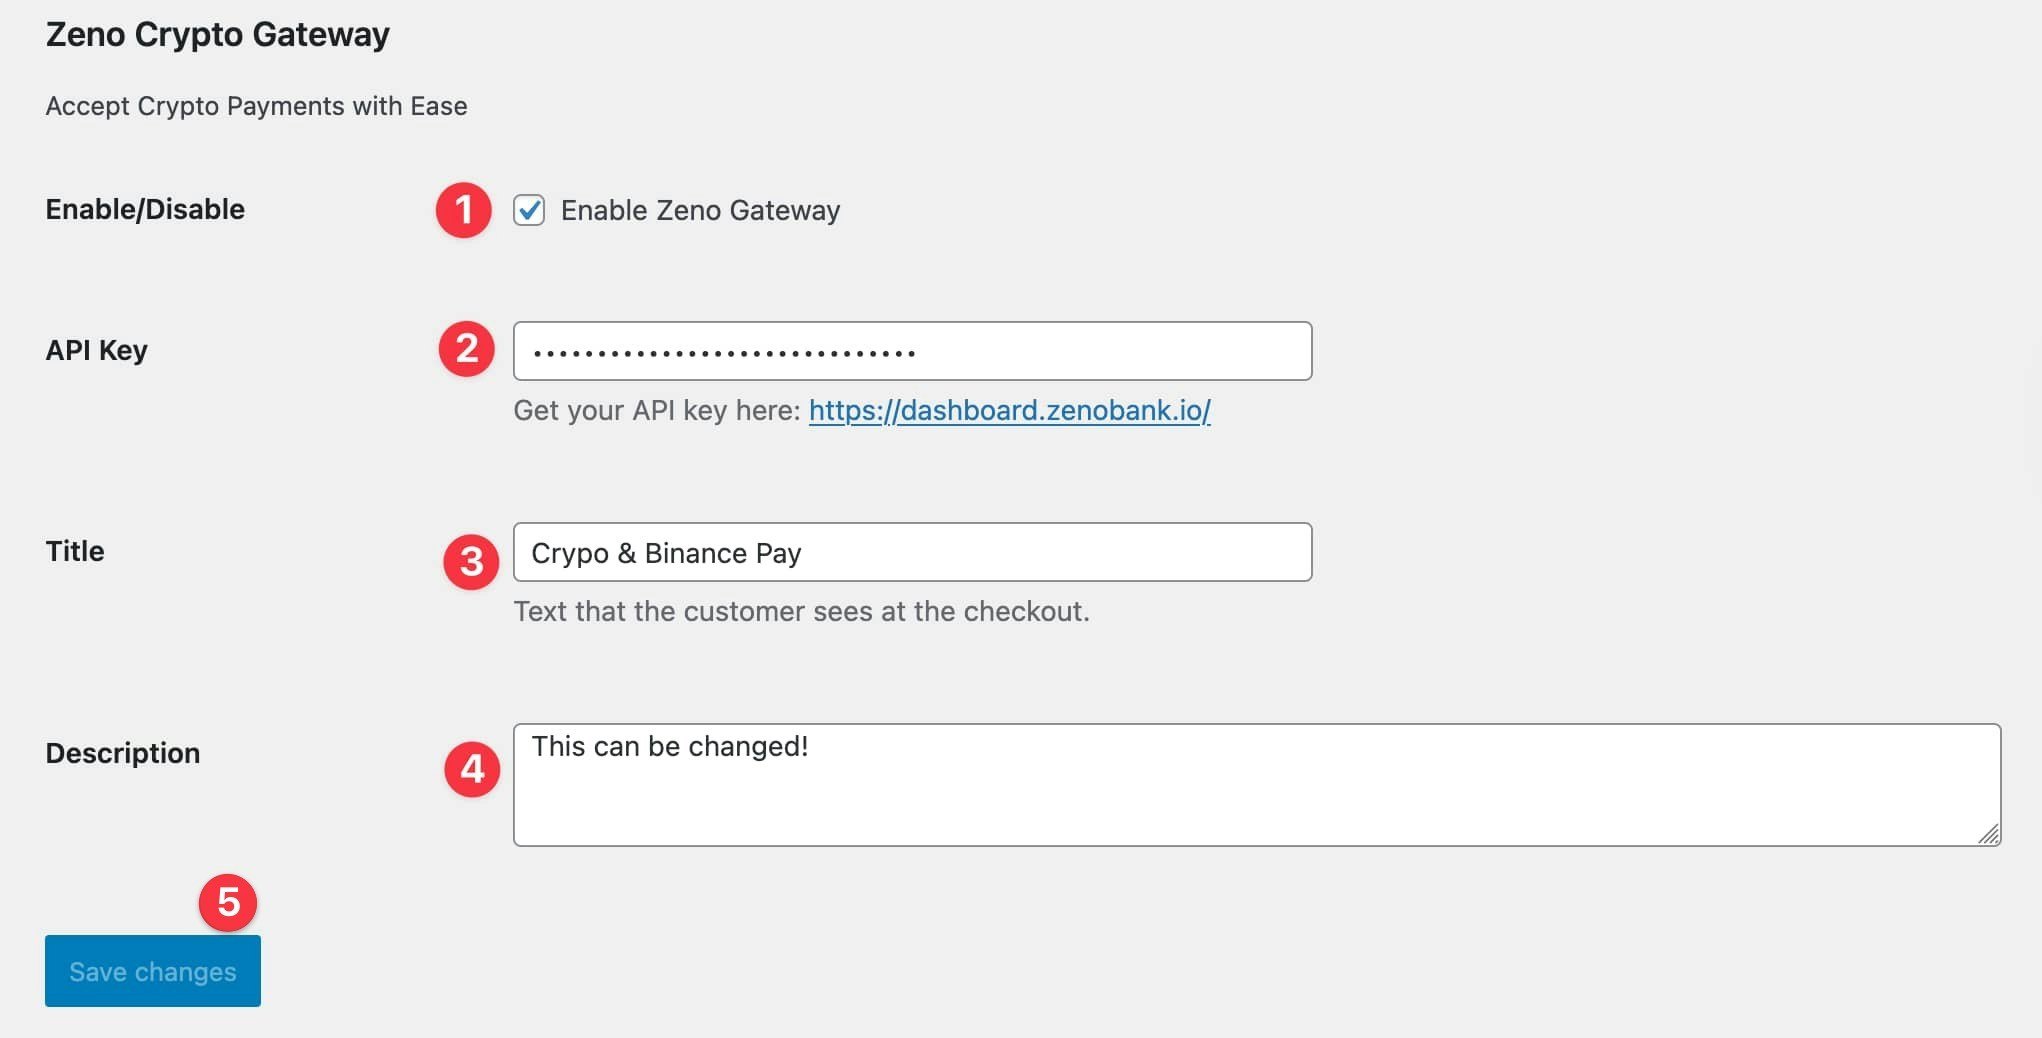
Step 5: Configure The Gateway
- Make sure the Enable ZenoBank Payment Gateway option is checked.
- Paste your API Key from the ZenoBank dashboard into the API Key field.
- (Optional) Customize the Title that customers will see at checkout.
- (Optional) Customize the Description that customers will see at checkout.
- Click Save changes.